
Create Perfect Edges For Glue Up On Your Router Table
If you own a router table, you have exactly what it takes to develop perfect sides for glue up. As well as many thanks to carbide cutters, a router table can joint the edges of unpleasant manufactured materials like MDF as well as particleboard, something that cannot be done on many jointers (those with steel knives) without messing up the cutters.
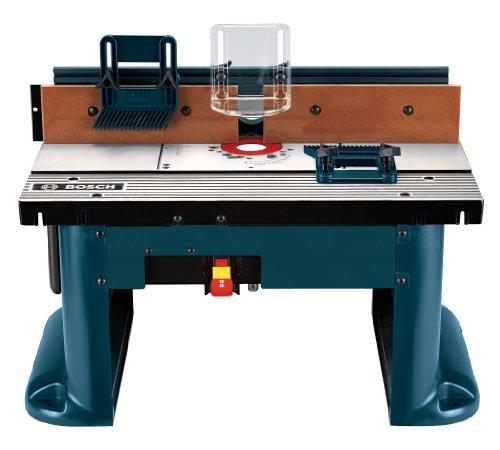
Woodworkers swiftly learn that a table saw does not leave a side that's all set for gluing. That's when a woodworker's need transforms to jointers. It's your router table to the rescue. All you should border joint on your router table is a fence with a balanced out in it, and also a carbide straight little bit. There are a number of suitable carbide straight cutters for jointing on the router table.
As a whole, make use of the fastest, stockiest bit feasible. High slim little bits are more vulnerable to babble. Because their better mass and also greater edge rate assist them generate a smoother cut, big size little bits function best. Make certain to make use of a 1/2 ″ shank for stock over 3/8 ″ thick. Lengthy straight cutters could be made use of to joint stock over 2 ″ thick. A sharp little bit and a slow-moving feed price will certainly reduce the danger of chatter with these little bits.
My preferred little bit for jointing is a 1/2 ″ size spiral cutter. It gives the very best lead to supply under 1-1/4 ″ thick. These bits aren't economical, however they produce a surprisingly smooth side with little or no tear-out, also on squirrely-grained woods. For a little much less money, you could grab a 1-1/2 ″ diameter straight cutter that likewise does a wonderful work. Also a normal straight little bit will certainly work.
As soon as the bit and also table are square, it's time to set the fencing. Get the fencing as close as you could to being appropriately located, however do not sweat it way too much. If you require to fine-tune the setups, an examination cut will very rapidly tell you. The fence is correctly set when the board remains in perfect contact with both the infeed as well as outfeed side of the fence throughout the cut.
Once your stock is marked, you could joint the mating sides. A method I learned early in my woodworking days, is to joint one board face down and the next face up. (Or if you're using a jointer, keep the face of one board against the fence and also the next far from it.) This assists make up for a cut that's much less compared to completely square as well as will certainly generate sides that are an ideal mirror photo to each various other.